This is a short guide on how to modify and add cookies using Chrome Developer Tools. This is particularly helpful if you are debugging a web application or instantiating a debugging tool such as Xdebug. It also serves as a good reminder that you should never trust the data that you receive via cookies.
1. Open Chrome Developer Tools.
To open up Developer Tools in Chrome, you can hold down CTRL + Shift + I on your keyboard or you can manually navigate to it in the “More tools” menu:
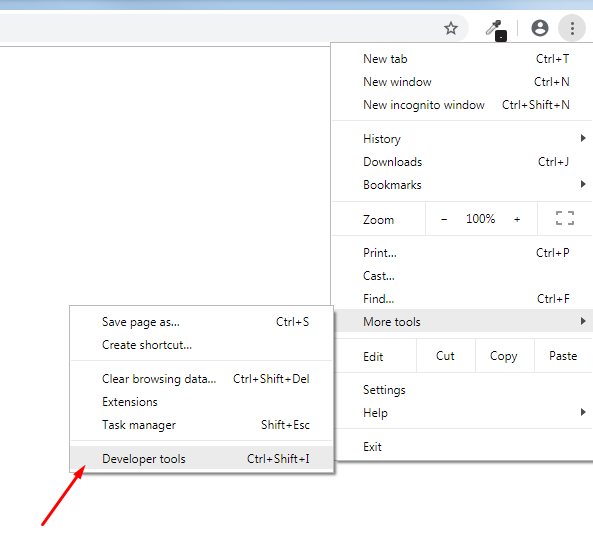
A screenshot showing the location of Developer Tools in Chrome.
2. Select the Application tab.
Once you have opened Developer Tools, you will need to select the Application tab.
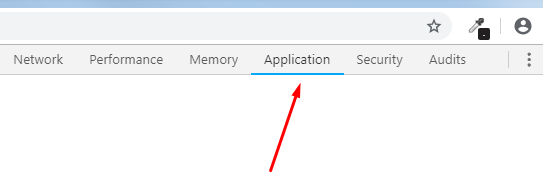
The location of the Application tab in Developer Tools.
After choosing the Application tab, a menu should appear on the left. This will contain options such as “Local Storage”, “IndexedDB” and “Cookies”. Expand the “Cookies” section and click on the URL of the website that you want to modify cookies for. In the example below, I selected google.com:
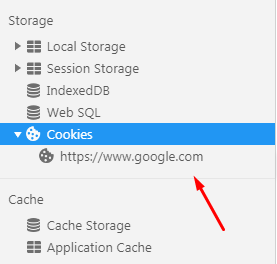
Select the Cookies menu.
3. Viewing Cookies.
Once you have selected a URL, you should be given a list of all of the cookies that were set on that particular website. Here, you can see that google.com created three cookies on my computer:

A screenshot showing the cookies list on Chrome Developer Tools.
In the screenshot above, you can see the following information:
- The name of the cookie.
- The value that the cookie contains.
- The domain that created the cookie.
- The path that it belongs to. In most cases, this will be “/”.
- It’s size in bytes. i.e. The cookie NID is 0.178 KB in size.
- Whether or not the cookie is set to HTTP Only or not. If this is ticked, then it means that the cookie cannot be modified by JavaScript.
- Whether it is secure or not. If this is ticked, then it means that the cookie can only be served over HTTPS / SSL connections.
4. Modifying cookies.
To modify a cookie, simply double-click on the field that you want to modify:

Note that you will not be able to change the HTTP, Secure or SameSite columns. The Size column is automatically determined based on the data that has been entered.
5. Adding a new cookie.
Chrome also allows you to create new cookies. To do this, you can simply click on one of the blank cells underneath the last cookie in the list. This is especially handy if you have debugging tools that allow remote enabling via cookies.
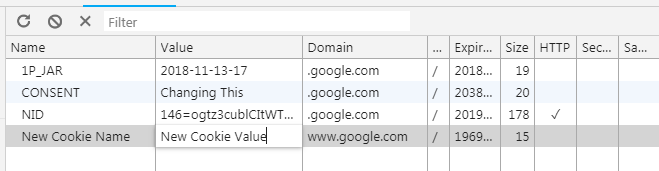
A screenshot showing a new cookie being created.
Hopefully, this guide proved to be useful!