In this tutorial, we will show you how to dynamically add a watermark to an image using PHP.
To do this, we will be using PHP’s GD functions.
Let’s say, for example, that we have a transparent PNG image called watermark.png:

Our example watermark image.
We also have a photo of a dog called photo.jpg:
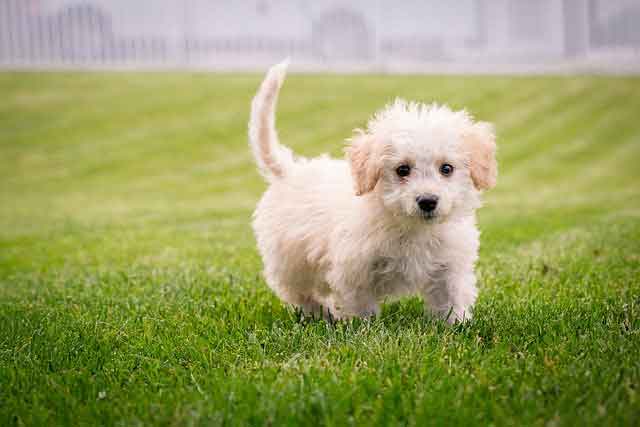
The photograph that we want to add a watermark to.
Lovely photo! Now let’s make sure that people know that it is ours.
To add our watermark to the image, we can use the following PHP code:
//Load the watermark PNG using imagecreatefrompng
$watermark = imagecreatefrompng('watermark.png');

//Load our image using imagecreatefromjpeg
$photo = imagecreatefromjpeg('photo.jpg');

//Set the the margins (pixels).
$marginSide = 15;
$marginBottom = 15;

//Get the width and the height of our image.
$photoWidth = imagesx($photo);
$photoHeight = imagesy($photo);

//Get the width and the height of our watermark.
$watermarkWidth = imagesx($watermark);
$watermarkHeight = imagesy($watermark);

//Figure out the $dst_x value.
$dstX = ($photoWidth - $watermarkWidth - $marginSide);

//Figure out the $dst_y value.
$dstY = ($photoHeight - $watermarkHeight - $marginBottom);


//Copy our watermark PNG onto the image using the
//coordinates and size dimensions we calculated above.
imagecopy($photo, $watermark, $dstX, $dstY, 0, 0, $watermarkWidth, $watermarkHeight);

//Output the new image to the browser.
header('Content-type: image/jpeg');
imagejpeg($photo);

//Finally, destroy the image resource and free up memory.
imagedestroy($photo);
The PHP code above will add a watermark to the bottom right-hand corner of the image:

A drill-down of the code in question:
- We loaded our transparent watermark by using the PHP function imagecreatefrompng. If our watermark image was a JPEG file, then we would have to use the imagecreatefromjpeg function instead.
- After that, we loaded the image of our dog using imagecreatefromjpeg. Why? Because it’s a JPEG!
- We then set the margins. In this case, we’ve set it to 15 pixels on both $marginSide and $marginBottom. This means that our watermark will be 15 pixels from the bottom and 15 pixels from the side. If you would prefer to “squish it” further into the corner, then you will need to reduce these margin numbers. If you would like to add more padding, then you will need to increase these numbers.
- Using the imagesx and imagesy functions, we got the width and height of both of our images. This is important as we will use these values to calculate where the watermark will be placed. The imagesx function returns the width of the image in pixels, and imagesy returns the height of the image.
- We then figured out where our watermark should be placed on the image. In this case, we want to place it in the bottom right-hand corner. To work out the X value, we subtracted the width of the watermark and the $marginSide value from the total width of the image. Similiarily, we figured out the destination y-coordinate value by subtracting the height of the watermark and the $marginBottom value from the total height of the image.
- Using the coordinate values that we calculated above, we then copied the watermark over onto our image by using the PHP function imagecopy.
- Finally, we set the Content-Type header to “image/jpeg” and output the new image into the browser using imagejpeg.
What if I want to add it to the bottom left-hand corner instead?
If you would like to place it in the left-hand corner instead, then you can simply set the $dstX variable to the same size as your side margin:
$dstX = $marginSide;
I want it to appear at the top?
If you want it to appear at the top of the image, then you will need to modify the $dstY variable so that it contains the same value as $marginBottom:
$dstY = $marginBottom;
Saving the watermarked version to a file.
Dynamically generating images on the fly can be resource intensive.
Instead, it is better to cache the generated image so that your server doesn’t have to keep adding the watermark every time the image is requested.
To save the new file to the file system, you can place the following piece of code after the imagecopy function:
$filepath = 'watermarked-file.jpg';
imagejpeg($photo, $filepath, 100);
The code above will save the generated image to the file path that has been specified in $filepath.
For more details on how to cache the file and make sure that it is only generated once, you can check out our guide on caching dynamically generated images in PHP.